

Beginner’s Guide to Drying and Curing Cannabis
Every grower dreams of producing aesthetically pleasing buds that capture attention. This journey continues immediately after harvest with the drying and curing stages. These essential steps not only preserve the vibrant terpene and cannabinoid profiles but also boost the visual appeal and quality of your flowers. Mastering these techniques can elevate your gardening skills, helping you create remarkable buds that showcase your growing expertise.
The Drying Process
So, you’ve grown some amazing plants, and now you’re wondering what’s next. The simple answer is to dry and cure your weed. This process promotes enzymatic activities at a controlled rate, helping to preserve terpenes and stabilize cannabinoids. Proper drying is essential for removing excess moisture from the buds, which not only enhances their quality but also ensures a smoother smoking experience and maximizes the potential of your crop.
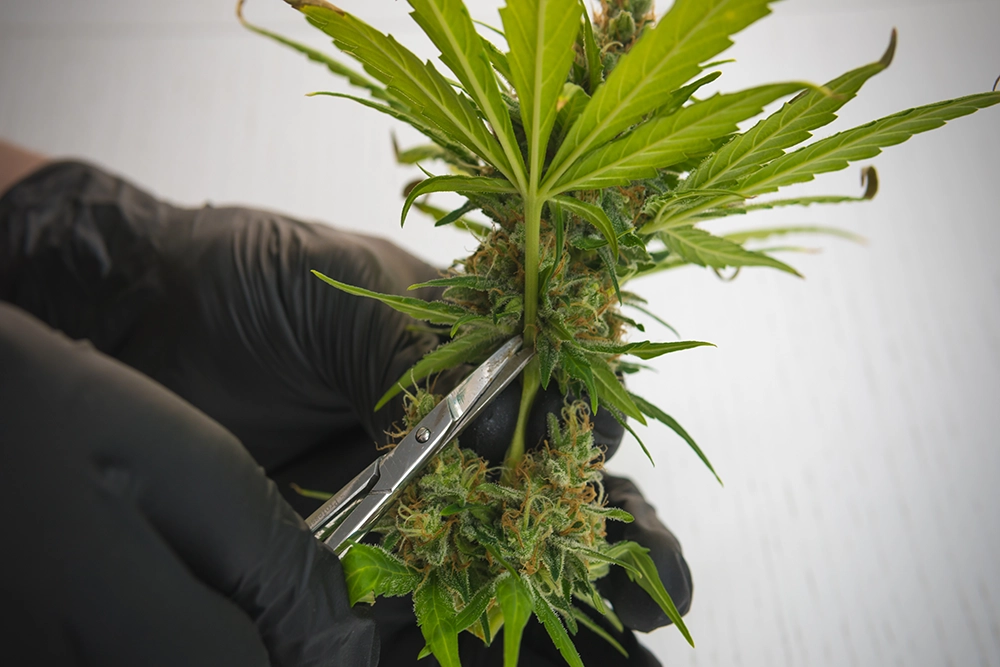
Removing a large fan leaf with small trimming shears.
When you’re ready for harvest, using sterilized pruning shears, cut the plant down whole, three to five inches above the medium. Begin by removing larger fan leaves to improve airflow around the buds and facilitate drying. However, it is advised to avoid excessive trimming after harvest; instead, allow the buds to dry naturally as the larger fan leaves will dry around the bud structure, preserving the integrity of the fragile trichomes.
Hanging Your Plants
Suppose you don’t have enough space to hang your plant whole. Then you can remove the lateral branches individually while keeping parts of the apical mainstem intact to create hooks for hanging. These sections serve as natural hooks, making it easier to hang the branches on your drying rack. This approach simplifies the process and improves air circulation around the branches, resulting in faster, more effective drying.
Cannabis hang-drying in drying room on drying rack with strings.
After harvesting, it is recommended to dry your plants in a dark, well-ventilated space with stable environmental conditions. Maintain relative humidity between 45% and 55% to prevent mold growth, and keep the temperature between 60°F and 70°F (15-21°C) to minimize degradation of cannabinoids and terpenes. The drying process typically takes one to two weeks, depending on bud density and environmental conditions.
1. Hanging Rack
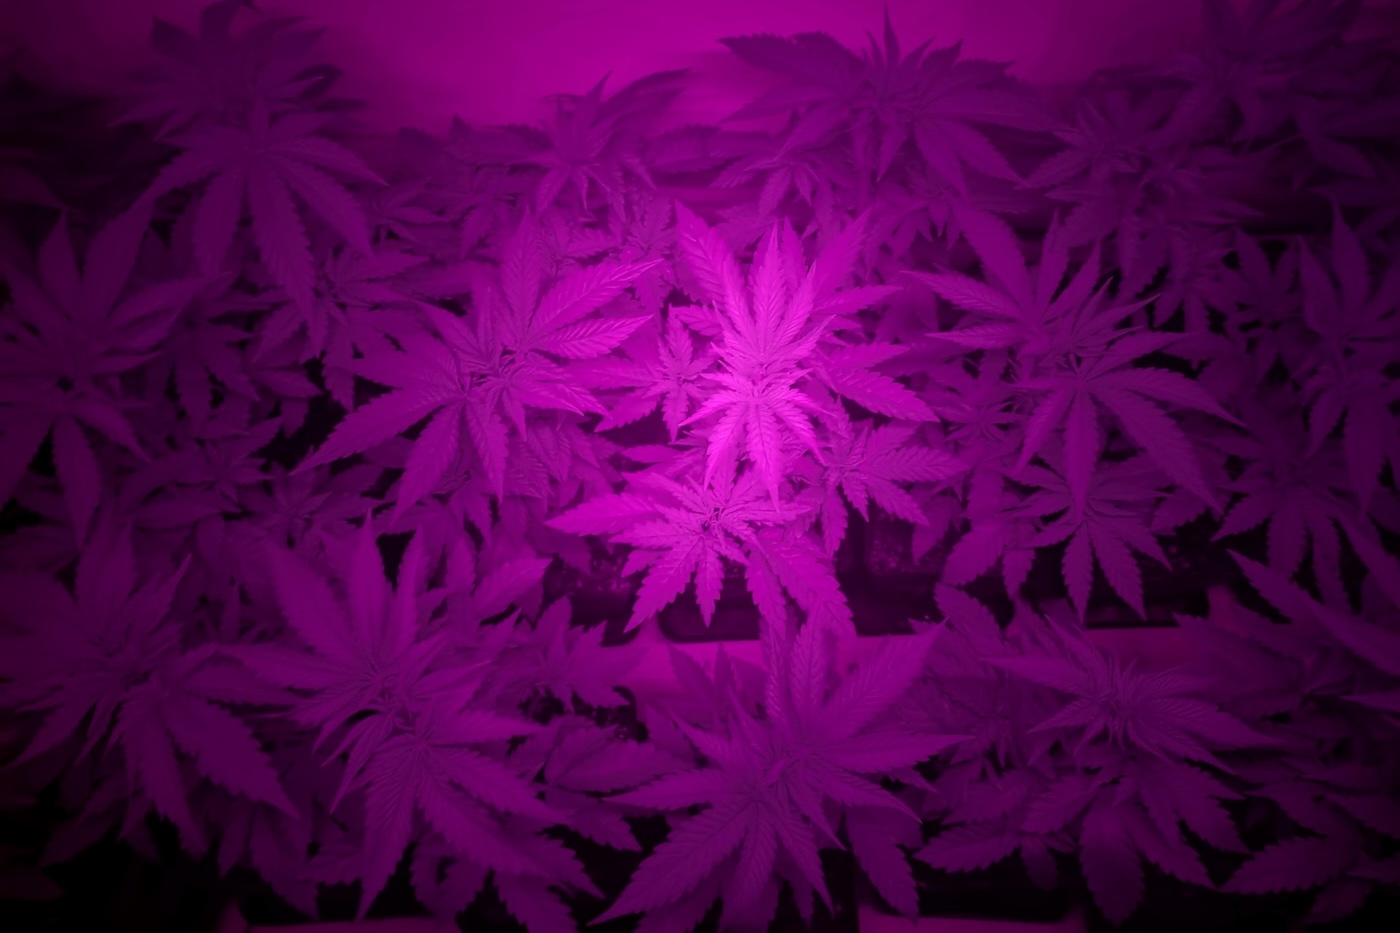
Many growers hang their plants upside down during the drying process. This traditional method helps to dry the buds and preserve trichome integrity. Hanging the plant upside down allows excess moisture to drain downward, reducing the risk of mold and mildew. It also helps maintain the plant’s intricate bud structures. Additionally, this technique ensures better airflow around the buds, resulting in a more consistent and efficient drying process.
2. Drying Net
For smaller loose buds, it’s best to use a drying rack or drying nets. These nets are designed to promote even airflow around each bud, helping them dry uniformly and efficiently. They also reduce the risk of mold and mildew by maintaining proper ventilation. The breathable material ensures optimal humidity levels, preventing over-drying. Additionally, drying nets conserve valuable floor space, making them an ideal choice for any up-and-coming grower!
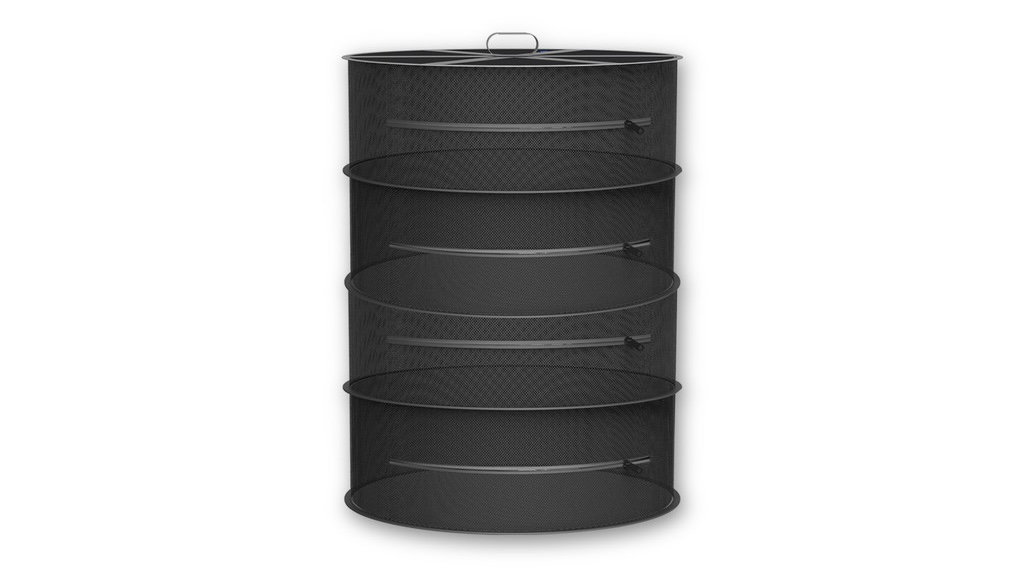
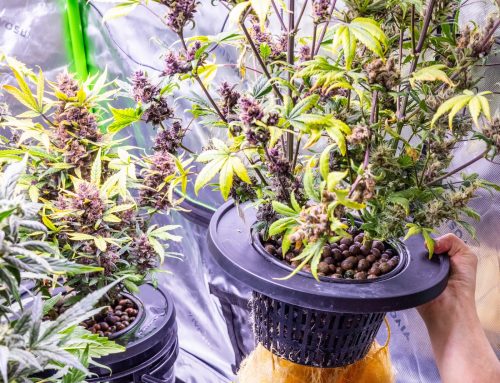
AC Infinity herb-drying mesh netting rack
After approximately two weeks, the moisture will stop releasing from the bud, and it will become brittle or feel dry to the touch. To determine if they’re ready for curing, apply moderate pressure to a smaller branch to test its flexibility. If it snaps cleanly with no resistance, it’s a natural sign that your plant has reached the perfect dryness. When the buds are mature, the stems should snap cleanly; if they do, now is the best time to start trimming!
Trimming: Love It or Hate It
The goal of trimming is to remove unnecessary foliage around the buds, including fan leaves that contain little to no cannabinoids. These leaves can retain residual moisture, which may hinder the curing process by promoting mold growth or causing uneven drying. Proper trimming ensures a smoother smoke and helps preserve the bud’s terpene profile. To do this effectively, you’ll need basic tools and a clean workspace. Here’s what you’ll need:
- Trimming Scissors
- Nitrile Gloves
- Work Surface or Trimming Table
- Buckets or Containers for Trimmings
- Isopropyl Alcohol
If you’ve dried the entire plant, carefully use your scissors to remove the buds from the stem, a process known as bucking, making sure to handle each one precisely. As you do this, put the separated buds into your trim bin.

Bucking cannabis plants by hand for quick steam extraction.
This method keeps the buds organized and prevents trimmings from scattering, making the trimming process cleaner and more efficient. Remember that taking your time here can improve the aesthetics and quality of your buds!

Fiskars spring-assisted MicroTip Shears make tedious trimming a bit easier on the hands.
Using sterile, sharp trimming scissors, examine each bud to identify any excess foliage and undeveloped shoots. Gently grasp the base of the bud with your fingers. Carefully work around the bud with your scissors, making precise cuts to remove only non-essential foliage. Handle them gently to avoid damaging the fine trichomes, ensuring the bud remains undisturbed and retains its quality during trimming.
The Curing Process
Once your buds have been trimmed and are looking visually appealing, the next step is to initiate the curing process. The primary objective is to regulate internal humidity and temperature to prevent mold growth and chlorophyll degradation, while facilitating enzymatic chlorophyll breakdown. Curing cannabis properly removes residual moisture, enhancing terpene expression and preventing your dried and cured buds from tasting grassy.
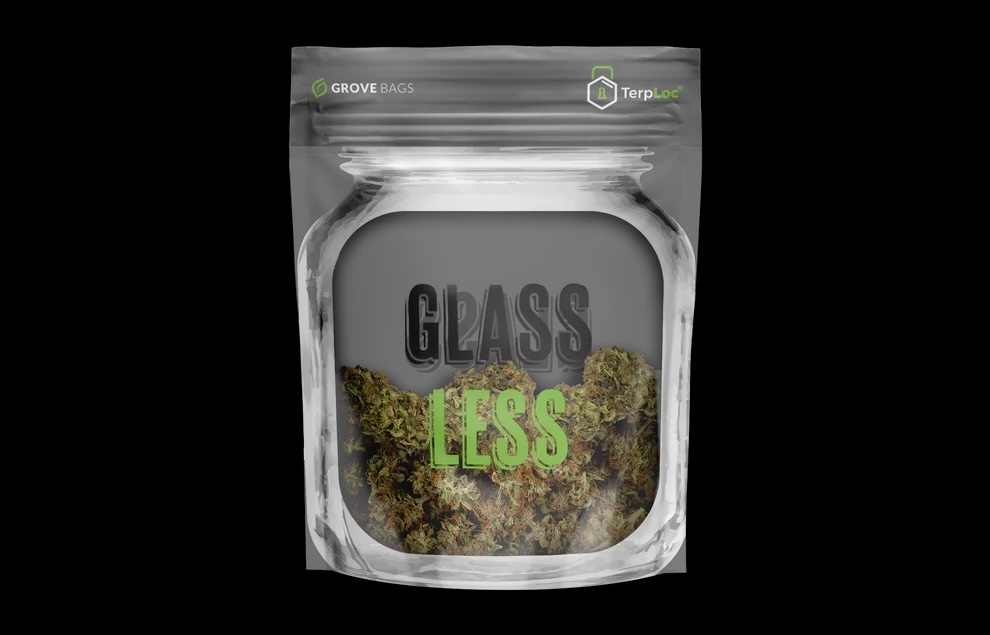
Grove Bags glass-less curing option.
Use airtight glass mason jars to cure your buds, packing them loosely to prevent crushing and allow airflow. Alternatively, cannabis specific-developed products like Grove Bags may make the process easier and better. Periodically open the jars for a few minutes at a time, once a day or every few days, to release excess moisture, a process called “burping.” During this process, gently rotate the buds to redistribute moisture, and refresh the container with fresh air and carbon dioxide. Continue the process for at least one to three months, until the buds reach their peak.
During curing, it is recommended to store the jars in a cool, dark location to preserve their contents. Maintain a stable temperature between 60-70°F (15-21°C), as fluctuations can accelerate degradation. Additionally, ensure the jars are kept out of direct sunlight, as it can degrade cannabinoids and terpenes. Avoid areas with excessive heat or humidity, as these conditions can diminish the quality of the stored cannabis buds and generate mold. Avoid high temperature and humidity at all costs.
Storing your Buds
To keep your freshly cured cannabis buds at their best quality, you may want to use hydration packs from companies like Boveda. These innovative humidity packs help control and maintain cannabinoid content and a wide range of terpenes. Additionally, these packs help regulate moisture, maintaining RH between 58% and 62%, preventing mold growth from excess humidity, and preventing buds from becoming brittle from overdrying.
Grove Bags are also an excellent choice for preserving and curing your cannabis buds. Made from a specialized blend of high-barrier films, they actively diffuse unwanted gases and water vapor, creating an ideal environment for the drying and curing process. This helps maintain the buds’ weight, flavor, potency, and freshness over time. Their effective permeability properties ensure your cannabis remains in optimal condition, making them an efficient solution for long-term storage to stay fresh.
Roll it Up!
As you can see, the curing process is a crucial step in cannabis cultivation because it directly affects the flavor of the buds, and you definitely don’t want harvested cannabis to taste like hay. Ultimately, harvesting your crop is the most rewarding part of the journey.

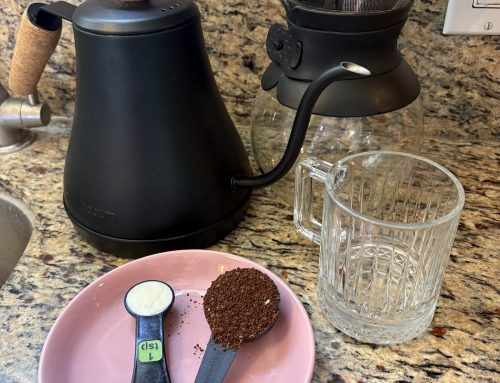
Learn how to roll a proper joint.
Whether you prefer smoking a joint, packing a bong, or vaporizing, the satisfaction of consuming your own well-cured cannabis is unmatched, making all the effort worth it. See you next season!
FAQ
What is the best method to properly dry and cure cannabis?
The best method for drying and curing your cannabis buds involves a gradual drying process conducted in a calm, stable environment to prevent rapid moisture loss. This is succeeded by a curing phase designed to equilibrate moisture levels for a refined smoking experience.
How Long Should Cannabis Dry Before Curing?
The optimal drying period before curing is approximately 21 days, during which substantial moisture and chlorophyll breakdown, along with enzymatic processes, facilitate the stabilization of precursor compounds such as Tetrahydrocannabinolic Acid (THC-A).
How Long to Dry and Cure Cannabis before Smoking?
Drying cannabis generally takes between 7 and 14 days to effectively reduce moisture content. Following this, the curing process typically lasts from 2 to 4 weeks. This process enhances the aroma, potency, and smoothness of your cannabis buds.
What’s the 60-60 Rule for Drying?
Prolonged drying of your freshly harvested buds can promote mold growth from retained moisture. To mitigate this, it is recommended to maintain a temperature of approximately 60°F (15.5°C) and a relative humidity (RH) of around 60%.

