


How to Photograph Cannabis Like a Pro
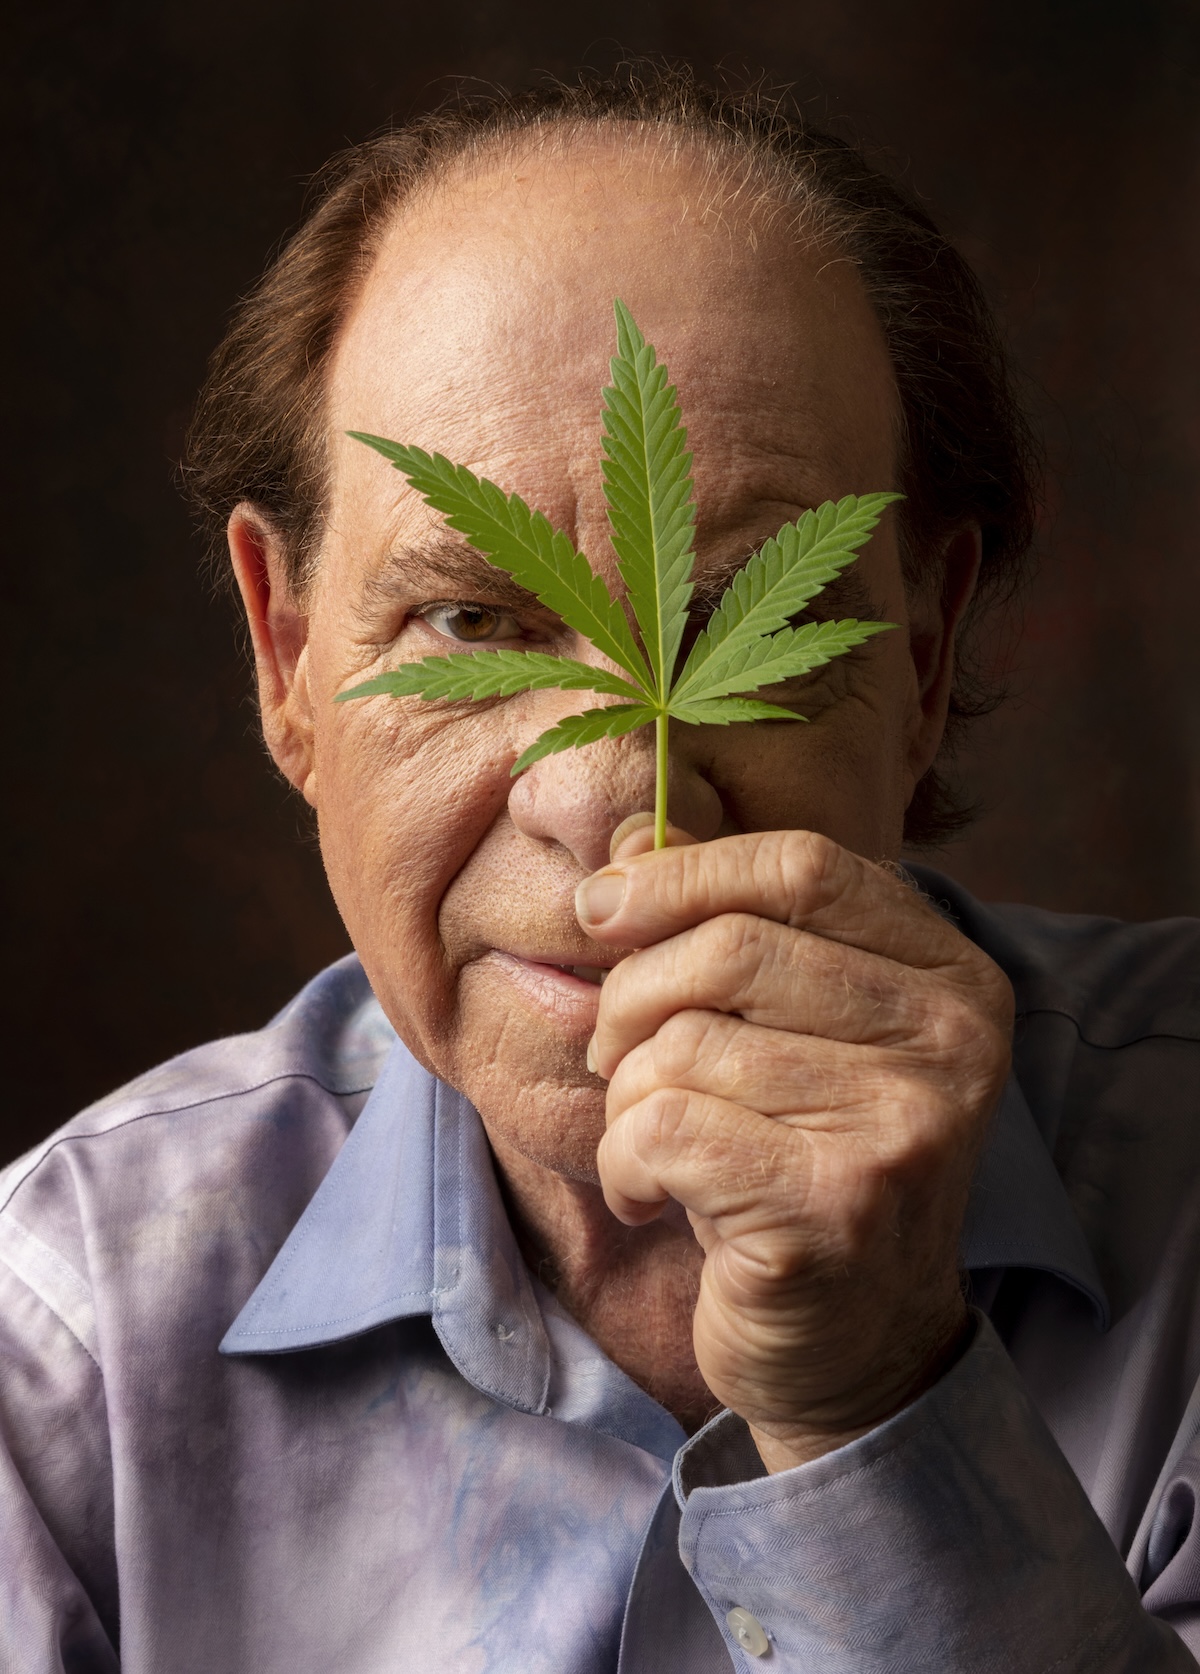
Cannabis photography is rapidly gaining recognition within mainstream culture, reflecting a shift toward acceptance and appreciation of the plant. These images highlight the plant’s intricate structures and vibrant colors. This guide is designed to introduce professionals and enthusiasts alike to the fundamental principles of cannabis photography, equipping you with the knowledge needed to capture stunning bud shots from the comfort of your own home.
Yes, Equipment Matters
To capture professional-quality macro close-up photographs of cannabis buds, it is advisable to use a camera with reliable autofocus, such as a high-quality digital single-lens reflex (DSLR) or mirrorless camera. When selecting a lens, opt for a macro lens with a focal length of approximately 100mm or 105mm, and choose one with a 1:1 magnification ratio. This enables the photographer to capture images with true-to-life proportions and precise detail.
By employing high magnification and precise focusing, photographers can highlight glandular hairs and subtle color variations, providing an in-depth view of the plant’s complex structures. This approach emphasizes fine details often imperceptible to the naked eye, showcasing the plant’s intricate beauty, clarity, and depth. For whole-plant shots, a mid-range zoom lens, such as a 24-70mm, provides flexibility to frame the plant properly.
To achieve stunning photos, utilizing the right lighting is essential. Natural light offers soft, even illumination with a natural appearance, making it ideal for areas with abundant sunlight. In studio or controlled environments, artificial lighting, such as LEDs or strobes, allows precise control over light intensity, angle, and color, ensuring consistent results regardless of weather conditions or time of day, which is fundamental for professional-quality photography.
Tripods provide stability, especially in low-light conditions, helping prevent camera shake. Stabilizers help smooth movement during handheld shots, resulting in crisp images. A ring light or softbox provides even lighting, reducing shadows and emphasizing the plant’s features. Additionally, a remote shutter release minimizes vibration, and a polarizing filter outdoors helps control glare and capture professional-quality photos of your cannabis buds.
Aperture, F-Stops, Shutter Speed, and ISO
F-stops are key camera settings that influence photo quality. They control the aperture size, affecting depth of field and the amount of light entering the lens. A lower f-stop (such as f/2.8) lets more light in, blurring the background and making it ideal for close-up shots of cannabis buds. However, higher f-stops, such as f/16, let in less light, resulting in a darker image, but they also provide greater depth of field, which is ideal for shots of the whole plant.

Candy Hustle Top Cola
ISO adjusts the camera sensor’s sensitivity to light. A lower ISO (100-400) produces clearer images with less noise, perfect for well-lit outdoor cannabis photography. Higher ISO (800-1600) settings increase brightness in low light but can introduce grain, making them best suited for indoor or shaded shots. Adjusting these settings based on lighting conditions ensures sharp, vibrant plant images that effectively highlight their details and colors.
Shutter speed is the duration a camera’s shutter stays open, which controls how long light reaches the sensor, measured in seconds (e.g., 1/125s). Fast shutter speeds (such as 1/1000s) can freeze motion, making them useful for capturing sharp close-ups of cannabis buds or trichomes that highlight texture and resin. Slow shutter speeds (such as one second or longer) can create effects like blurring or emphasize specific plant features.
For example, to capture brighter photos in low-light conditions, increase your ISO to prevent blur caused by slow shutter speeds or overly wide apertures. If you want a shallow depth of field with a blurry background, start with a wide aperture, then adjust the ISO and shutter speed to achieve the desired brightness. Remember, the camera’s auto modes adjust settings like aperture or ISO to maintain exposure, making your photography more dynamic.
Setting Up Your Environment
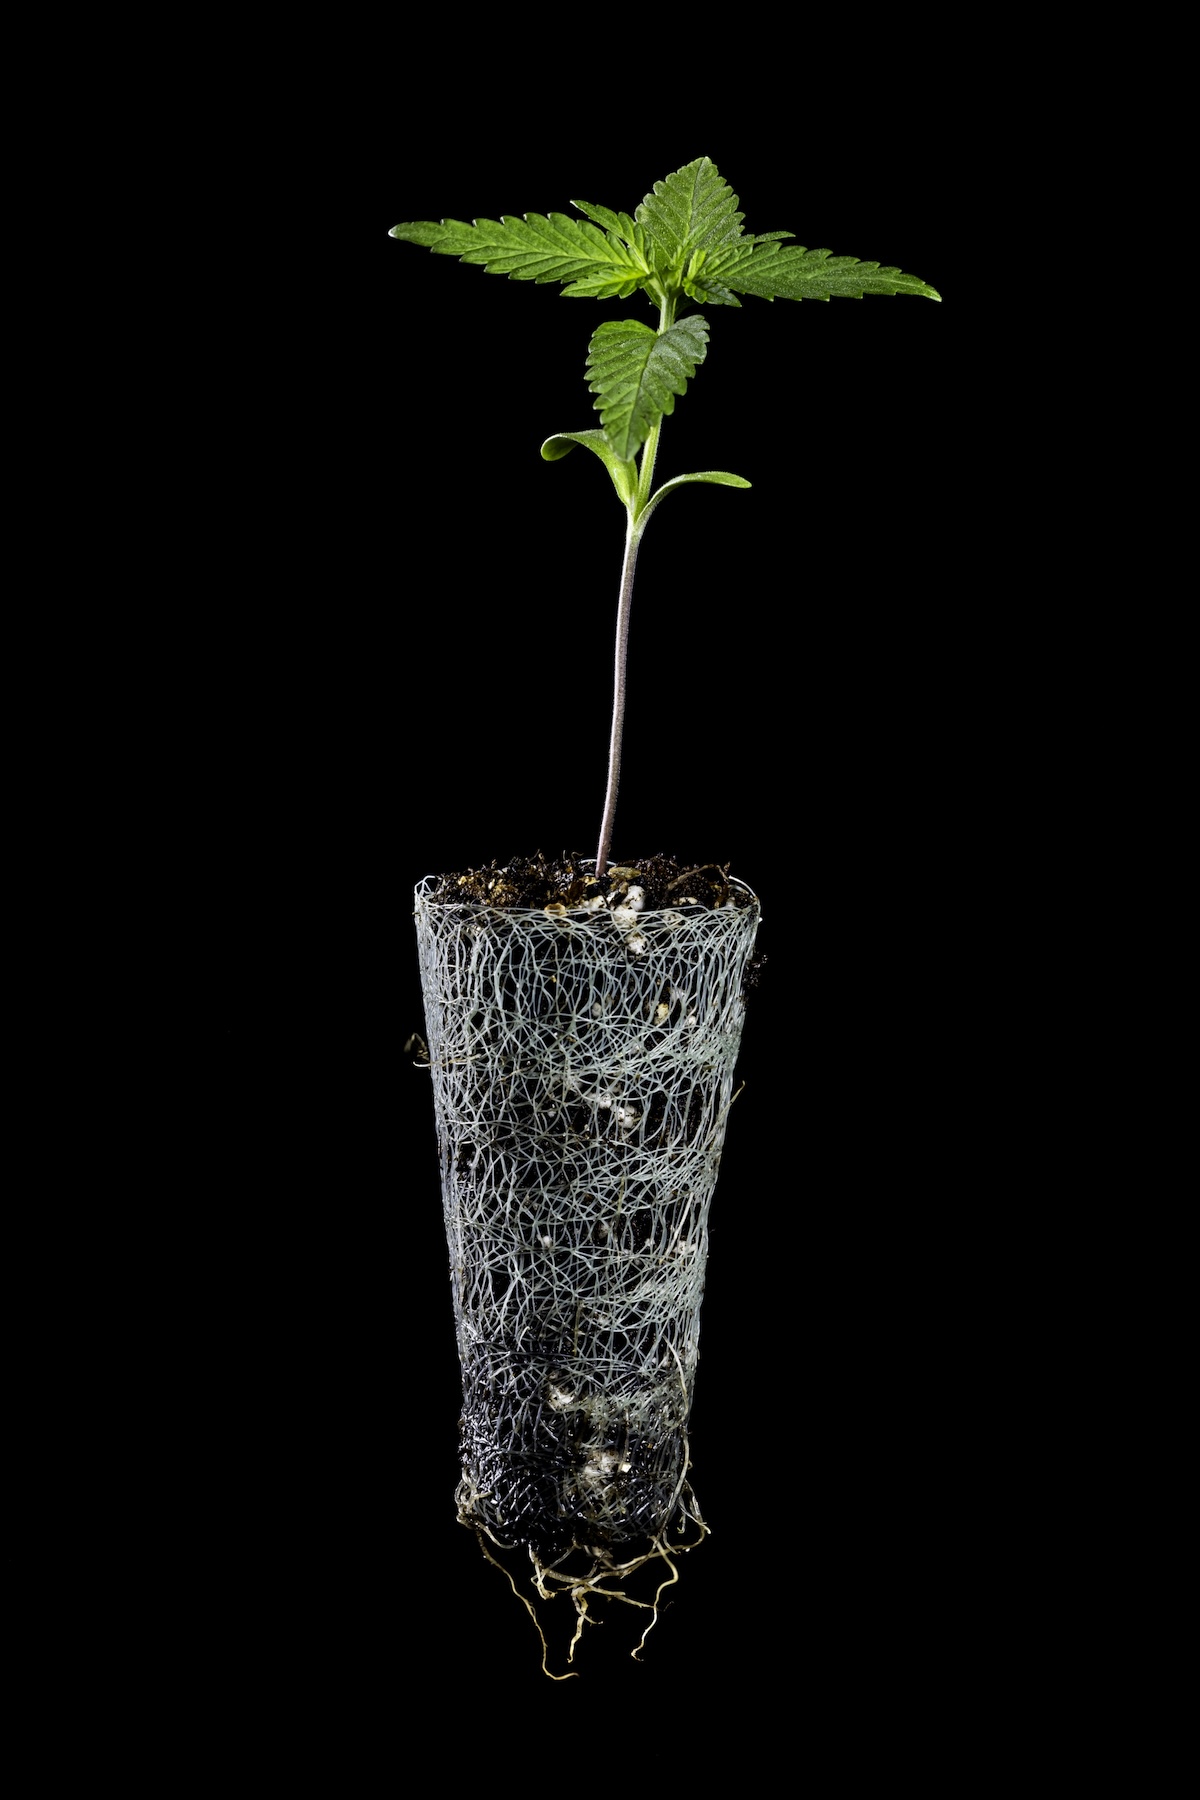
To photograph whole plants, it’s advisable to select a spacious area and use a solid-colored background, such as white or black, to help the plant stand out clearly. For shorter autoflowering cannabis varieties, place them on an upside-down pot to move them into the shot and position them within the composition. Furthermore, employing a sturdy tripod is essential to ensure stability and achieve sharp, high-quality images throughout the shoot.

V-Auto cannabis flower photographed on a black backdrop.
Using diffusers or soft-boxes when shooting cannabis plants helps soften harsh lighting and reduce unwanted reflections, which can interfere with image clarity. Position the light source carefully at optimal angles to minimize glare, especially on delicate surfaces like trichomes. Additionally, using polarizing filters can further reduce reflections, resulting in sharper images and enhanced color accuracy by blocking specific wavelengths of light.
When taking close-ups of buds, a small, portable box studio provides a controlled environment, reducing interference from external light and maintaining consistent lighting conditions. Its compact design makes it easy to transport and set up in different locations. Using a studio helps achieve high-quality, detailed images by allowing precise adjustments to lighting angles and distances, resulting in clearer, more professional photographs of your plants.
When to Photograph Your Buds
It is recommended to capture images within the first few weeks after harvest, as the buds are at their peak freshness, allowing for the most accurate representation of their true colors and intricate details. This timeframe is fundamental because, as the drying process begins, oxidation and heat degradation often cause color shifts and loss of fine details, which can diminish the quality of the photographs and the documentation of the buds’ true appearance.
If you need to preserve buds for future use, store them in a cool, dry environment, such as an airtight container (e.g., a glass mason jar or Grove Bags), to slow their deterioration. Should the buds begin to wilt or dry out, they can be carefully rehydrated by lightly misting with a spray bottle or placing them in a humidity-controlled environment with moisture packs. Proper storage really helps maintain their appearance and ensures more visually appealing photographs.

Bract at top of cannabis cola under 3x magnification.
When photographing buds, focus on capturing their size, shape, and surface details to showcase bud development. Throughout the cultivation cycle, take pictures of any diseases or anomalies, such as discoloration, deformation, or unusual growth patterns, to help identify potential issues. Including images of leaf structure, pre-flowers, and internodal spacing also helps to showcase the cannabis plants’ growth stages comprehensively.
How to Photograph Cannabis: Step-by-Step Guide
Boost your cannabis photography skills with this quick, step-by-step guide to capturing vibrant, eye-catching images of your buds. Perfect for beginners and enthusiasts alike.
- Cut your buds from the plant, leaving at least five inches of stem for mounting. A longer stem provides a secure attachment point to a stand, making it easier to position the bud precisely. Without a sturdy stem, the bud can be unstable and difficult to capture from various angles, as it may not stand upright on its own.
- Set up an enclosed area for your photos, and place your buds inside attached to a mount. Use studio lamps to produce even, shadow-free lighting that highlights the buds’ details and colors without unwanted reflections or glare. To maximize contrast, display them against a neutral background such as white or grey.
- Photograph your buds from various angles, capturing trichome density, intricate sugar leaves, and dense bud structure. Switch to a macro lens for extreme close-ups, and use manual focus to control the point of focus, ensuring sharpness and clarity in details that automatic focus might struggle to lock onto.
- It is recommended to adjust your camera’s exposure settings to prevent blown-out highlights and overly dark shadows. Proper adjustment ensures that the captured image accurately maintains color fidelity, detail, and tonal balance, resulting in aesthetically pleasing photographs with precise visual representation.
- Stabilize your camera with a tripod to ensure sharp images. Capture multiple photographs from different distances and in various lighting conditions. Review the results and retake shots as needed to improve composition and clarity. Now, edit the images in post-production by correcting color, brightness, and contrast.
Expert Techniques

Chris Romaine, AKA Kandid Kush.
When photographing your buds, use a macro lens for close-up shots, keeping the subject crisp while blurring the background to direct attention to the bud. Adjust the aperture to control depth of field: a wider aperture (smaller f-number) produces a shallow depth of field, effectively isolating the plant from its surroundings, whereas a narrower aperture (larger f-number) increases depth of field, allowing more of the plant to be in focus in a single frame.
Lighting techniques for bud photography involve carefully choosing light angles and diffusion methods to accentuate detail and color. Using side lighting can enhance the texture of the buds, revealing intricate surface details, while lighting from above showcases the structure. Diffusers can be utilized to soften harsh light, minimizing glare and unwanted shadows, while backlighting creates a glowing effect that emphasizes the plant’s transparency.
For aesthetically pleasing shots of your plants, it’s fundamental to consider composition and framing. A highly recommended technique is the rule of thirds, which divides the frame into a 3×3 grid with two horizontal and two vertical lines. Position the key elements of the plant’s morphology along these lines to create a balanced, engaging shot. This simple yet effective guideline helps photographers of all skill levels produce well-organized, appealing photos.
To ensure not only consistency but also quality in your cannabis plant photographs, it is recommended to set fixed camera parameters such as aperture, shutter speed, and ISO before each shoot. Using a tripod prevents any motion blur and keeps the shot steady, especially in low-light conditions or when taking multiple shots. Maintaining consistent lighting with controlled light sources also helps minimize shadows and reduce color shifts.
Focus Staking
Focus stacking is a widely used macro photography technique that involves taking multiple images of the same subject, each with a slightly different focus point. This technique ensures that different areas of the plant are in focus in each frame. These images are then carefully merged in post-processing. The result is a single, sharp image that captures fine details which would be impossible to see with a single exposure.

The process requires a high level of patience and precision, as even minor disturbances, such as the smallest movement, can easily disrupt the entire sequence and negatively impact the final image. When executed correctly, focus stacking enables professional photographers to achieve a greater depth of field and enhanced image clarity. This technique is especially valuable for capturing intricate details such as trichome heads and pistil formations.
Use a focusing rail or a tripod to adjust the camera’s position in small increments, typically between 5 and 20 microns at high magnification, or larger steps at lower magnifications. Begin capturing a series of overlapping images, typically between 10 and 30 shots for 1× magnification and up to 200 images for 5× magnification. Ensure each shot overlaps, and utilize software to automatically align and merge the images into a single composite.
Common Mistakes to Avoid
Overexposure from high f-stops can wash out fine details and diminish vibrant colors, resulting in images that appear flat and lack depth. Conversely, underexposure at low f-stops produces dark, grainy photos with diminished clarity and lost nuance. To prevent these issues, photographers should develop a solid understanding of their camera’s exposure settings, including how to balance aperture, shutter speed, and ISO levels.
Another common challenge is achieving accurate focus, as improper focus can result in excessively blurry, unclarity. Photographers often misfocus on irrelevant areas in the scene, preventing them from capturing the subject’s detailed textures, such as a plant’s intricate buds. To mitigate this issue, utilize the camera’s manual focus ring for precise control, and keep the camera steady by holding it firmly or mounting it on a tripod.
Using adequate lighting is essential for capturing intricate details and ensuring well-exposed photographs that showcase the full beauty of the cannabis plant. Poor lighting, with low lumen output or limited coverage, can distort colors and obscure details, while natural light generally provides better results by enhancing green hues and trichomes. However, artificial lighting that is too weak or too intense can create shadows or glare, hindering image clarity.
Get Shooting!
Capturing stunning images of your buds is an exciting journey that’s well within your reach! With the right techniques, a bit of patience, and consistent practice, you can transform simple shots into breathtaking photographs. Take the time to get to know your camera’s features and immerse yourself in mastering the magic of lighting to bring out the best in every shot. The more you experiment, the more rewarding your journey will become!


