


When and How to Transplant Cannabis Seedlings
If you’re planning to grow cannabis, it’s important to know that as your cannabis plant progresses through its complete life cycle, it will need more room for root development. This is where the process of transplanting comes in. Transplanting involves moving your plants from one container to another.
When considering when to transplant marijuana seedlings, there are several things to consider such as root size and node development. Let’s learn the importance of transplanting and how to do it correctly with our comprehensive step-by-step guide.
Why it’s important to transplant cannabis
Once you’ve germinated your cannabis seeds by placing them between two moistened paper towels, you can plant them directly into smaller pots; 16-oz Solo cups are a great choice. However, as your plant grows, it’s essential to transplant it to a larger container. Failure to do so can cause the roots to become tangled or root-bound, ultimately leading to suffocation. Proper transplantation will help your cannabis plant thrive and grow healthy.
When planting cannabis directly into the ground, avoid placing plants too close to other vegetation. Planting too close can cause root damage and limit the plant’s ability to absorb essential nutrients. Additionally, if you’re growing in a container, make sure the container is not too large. If the container is too big, the roots won’t be able to absorb water properly, and the growing medium can remain moist, leading to root rot over time.
Some soil mixtures can be too potent for seedlings during their initial growth phase, potentially stunting their development. Therefore, starting your plants in a lighter mix is advisable before gradually transitioning them to a regular potting mix, allowing them to adapt slowly. However, choosing the right time to transplant is critical.
Considering these factors, let’s discuss when is the best time to transplant your cannabis plants.
When to transplant marijuana
Transplant your young plants during the early vegetative stage to give them enough time to recover and develop a dense root zone before entering the flowering period. This growth stage occurs two to four weeks after germination and lasts several weeks to months, depending on the strain, length of your growing season, and available space.
Some growers only choose to transplant once, while others may transplant multiple times before flowering. For example:
- It’s time to move your seedlings from their 16-oz solo cups to a 1-gallon container two to three weeks after germination.
- After the seedlings have grown for four to six weeks, you can transplant them into 2—to 3-gallon containers or transfer them straight to the final container.
- Then, roughly eight to twelve weeks later or two weeks before the flowering stage, the plants should be transplanted into the final 5-gallon or larger container.
Since the answer to “when to transplant weed seedlings” can vary, there is no specific time to transplant, so we’ve highlighted some visual indicators to be aware of:
- When your plant grows up to four nodes tall and displays healthy seven-pronged leaves, it may indicate that it needs extra space to grow.
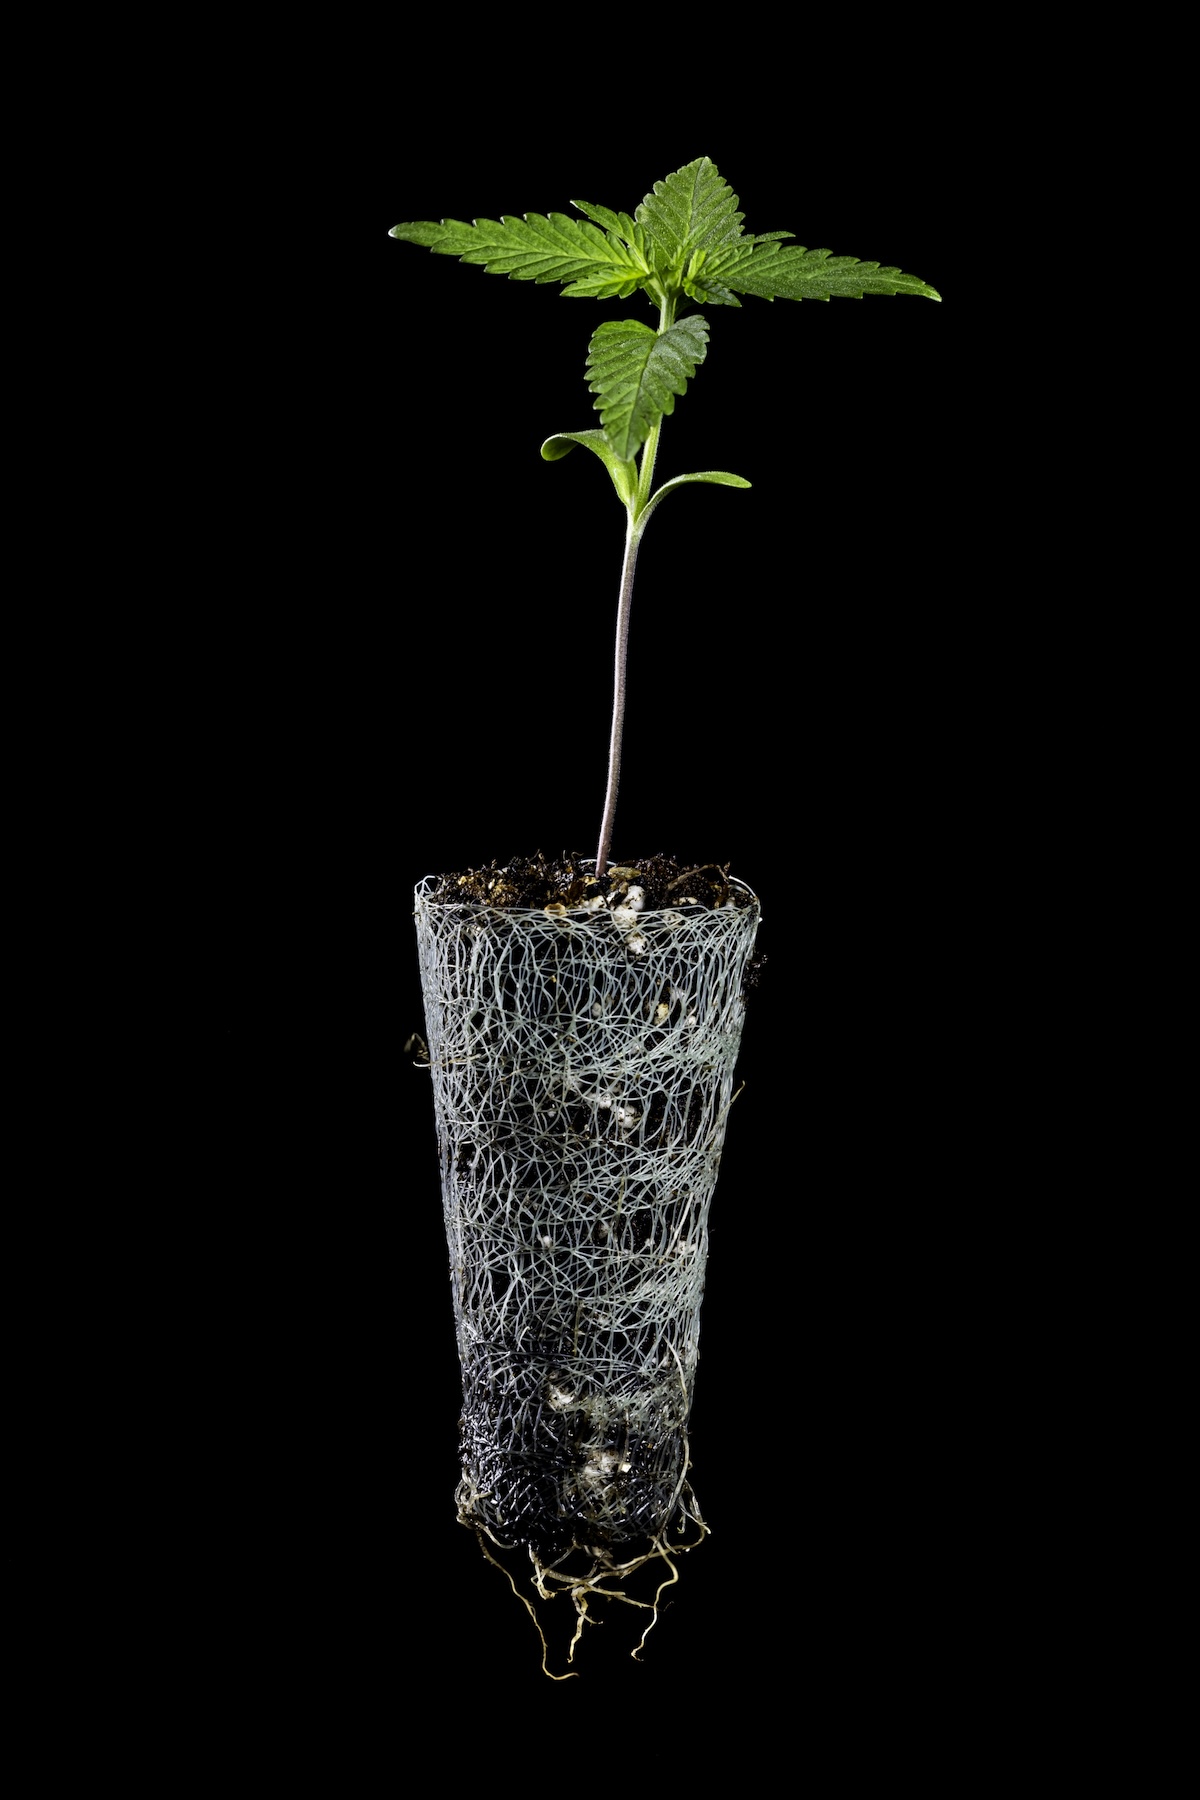
- If you notice roots emerging from the drainage holes in your small pots, it is ideal to transplant the plant into a bigger pot.
- Excessive foliage and signs of stress, including yellow leaves or stunted growth, can also indicate that your plant needs more space for root growth.
Choosing the right pot size for your cannabis plants
Pot size can significantly impact the height of your plants, and when transplanting, it’s advised to use a pot double the size of the original container. Every five gallons of soil will enable the plant to grow up to approximately 30 to 36 inches. So, consider the available space when selecting the appropriate pot size. For budding growers, we’ve outlined the pot size, average height, and growing area in the table below:
| Pot size (Gallons) | Height (Inches) | Average Grow Area (M²) |
|---|---|---|
| 16 oz | 2 – 6 inches | 0.2 x 0.2 |
| 1 gallon | 6 – 8 inches | 0.5 x 0.5 |
| 2.5 gallon | 16 – 18 inches | 1 x 1 |
| 5 gallon | 30 – 36 inches | 2 x 2 |
| 8 gallon | 50 – 58 inches | 2.5 x 2.5 |
| 10 gallon | 65 – 72 inches | 3 x 3 |
How to transplant cannabis (step-by-step)
Once you’ve checked the visual indicators to confirm that your plant is ready for transplanting into a larger container, it’s recommended not to water the plant for 24 hours before transplanting to reduce stress. Now, we can proceed to the step-by-step guide for transplanting your cannabis plant. Here is a quick list of items that you will need:
- New containers
- Trowel
- Potting soil
- Gardening gloves
- Watering can
1. Pre-potting preparations
To ensure a successful transplanting process for your cannabis plant, it is essential to follow some pre-potting preparations. Firstly, it is recommended that you wear gardening gloves and prepare a clean environment to work in, as re-potting can be quite a messy process. A table would be the best surface to work on as it provides a level workspace.
2. Choose a container
Choosing the appropriate container size for your plant is vital as it can significantly impact its growth. A container that is too small can limit growth, while a container that is too big can lead to overwatering and other problems. If you need additional guidance, please refer to the table provided above, and remember, it is always advisable to double the container size.
3. Fill the container
Once you’ve chosen a container that suits your needs, gently fill it with your preferred growing medium. Use a trowel to create a hole an inch larger than the size of the plant’s previous pot. This will ensure the plant fits comfortably in the new container while providing enough space for the roots to grow and thrive.
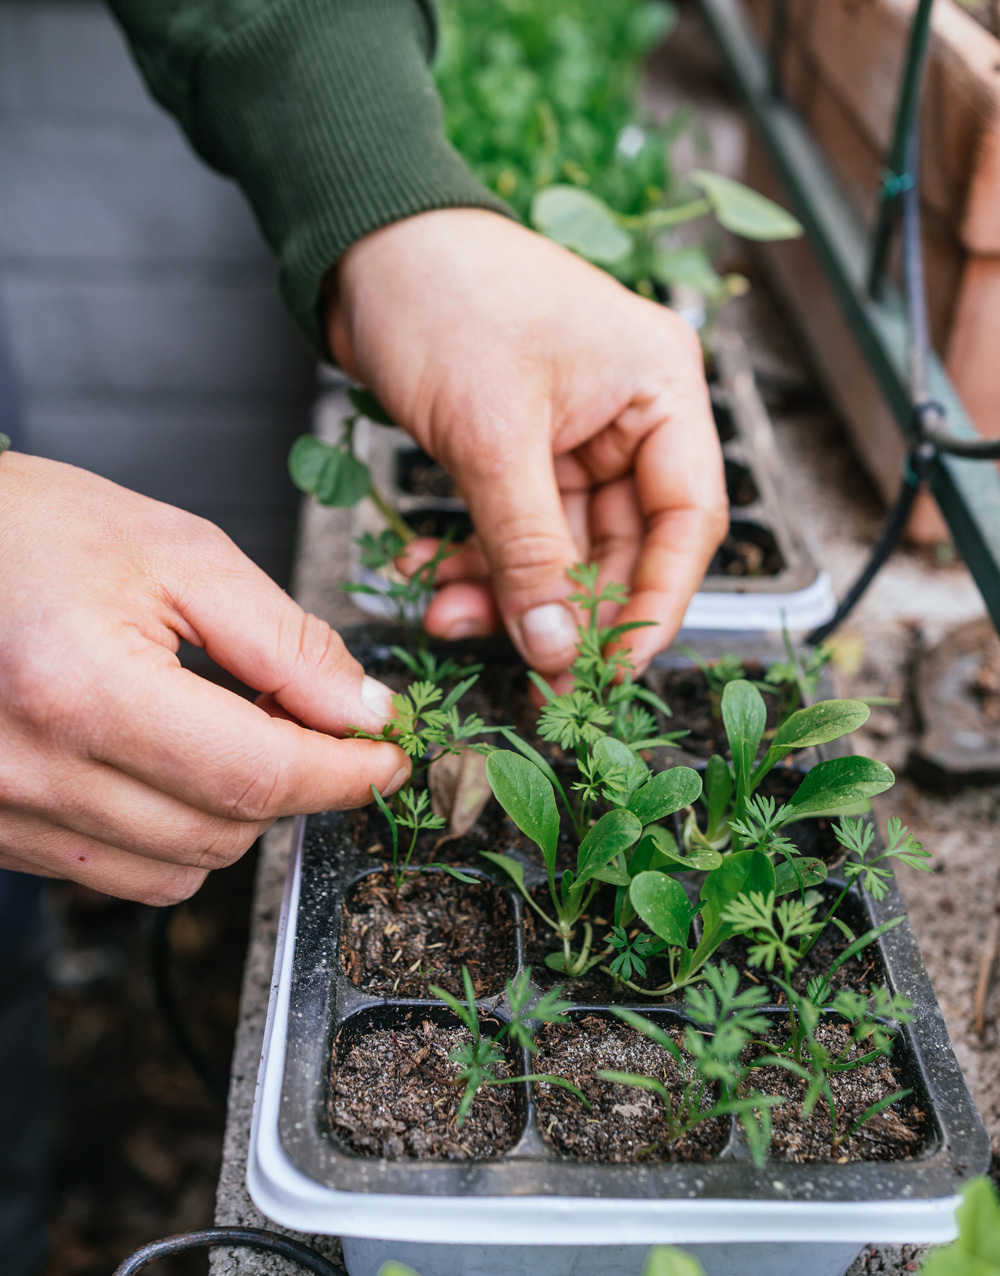
4. Remove the seedling
To remove a plant from its container, gently squeeze the sides. This helps to loosen the roots and makes it easier to slide the plant out. Next, place a hand under the root ball, place the plant in the new larger pot, and add your chosen medium. Leave an inch of space from the top and gently press down on the soil to ensure a firm consistency and promote good drainage.
5. Keep your plant hydrated
Finally, gently water the plant to help it settle into its new home. Within the next few days, your plant will look excellent and healthy with the increased space needed for the root zone to expand and the plant to continue its journey through the growth cycle.
By following these steps and staying vigilant during the vegetative stage, you can ensure a healthy and prosperous transplanting process for your cannabis plant. Remember to monitor your plant’s growth and adjust the environmental conditions accordingly.
How to avoid cannabis transplant shock
When cannabis plants are moved from one environment to another, they may experience transplant shock. This can hurt the growth of your cannabis plants. Transplant shock can cause cannabis plants to droop, discolor, or wilt, making it hard for the plant to take up water and maintain proper balance. It’s a delicate process, so here are some tips to help you avoid transplant shock.
1. Prevent root damage
When transplanting weed, it is important to be careful not to damage the plant’s root system. The roots absorb water and nutrients from the soil, which is essential for the plant’s growth. If the roots are damaged during transplanting, the plant may experience stunted growth, reduced yields, or even die.
2. Don’t overwater
When transplanting your plants, be careful not to overwater them. Excessive watering can lead to waterlogged soil, eventually resulting in the plant’s death. On the other hand, allowing the soil to become too dry is also not ideal. Therefore, it is essential to maintain the right balance of moisture in the soil to ensure your plant’s healthy growth.
3. Reduce feeding
After transplanting, avoid returning to your regular feeding schedule and lightly water your plants with a nutrient mix diluted to half or two-thirds of their usual strength. Failure to do so might lead to nutrient burn, a stress caused by overfeeding your plants or mixing nutrients too strongly.
4. Be patient
Don’t move your plants too frequently, which can negatively affect their growth. If you need to transplant a plant, it’s best to wait for it to fully recover. Each plant has its own specific requirements, and it’s crucial to be patient when it comes to growing healthy cannabis plants. If you wonder when to transplant cannabis seedlings from solo cups but act too fast, it could spell doom for your crop.


