

Building Your Own Cannabis Grow Tent
You might think investing in a prefabricated grow tent is expensive and unnecessary. If that’s the case, a DIY grow tent can be a cost-effective and practical alternative for your home cultivation area. Constructing an in-house grow room also allows you to learn valuable tips and techniques for growing cannabis indoors. So, let’s begin the process!
Why build a homemade grow tent?
Building a DIY grow tent offers several advantages over buying prefabricated ones. Let’s explore five key reasons to create your own.
- Cost
DIY grow tents offer a cost-effective alternative to prefabricated ones, making them a great budget-friendly option for those looking to set up their own in-house grow area.
- Accessibility
Rather than ordering a grow tent online or heading to your nearest grow shop, you can easily find the materials for creating your own grow tent at a local hardware store
- Customization
You have complete control over the size, shape, and features, allowing you to create a unique space that reflects your personal needs and space limitations.
- Learning experience
Building your own grow tent can be an educational and fulfilling hands-on experience, helping you understand the fundamentals of cannabis cultivation.
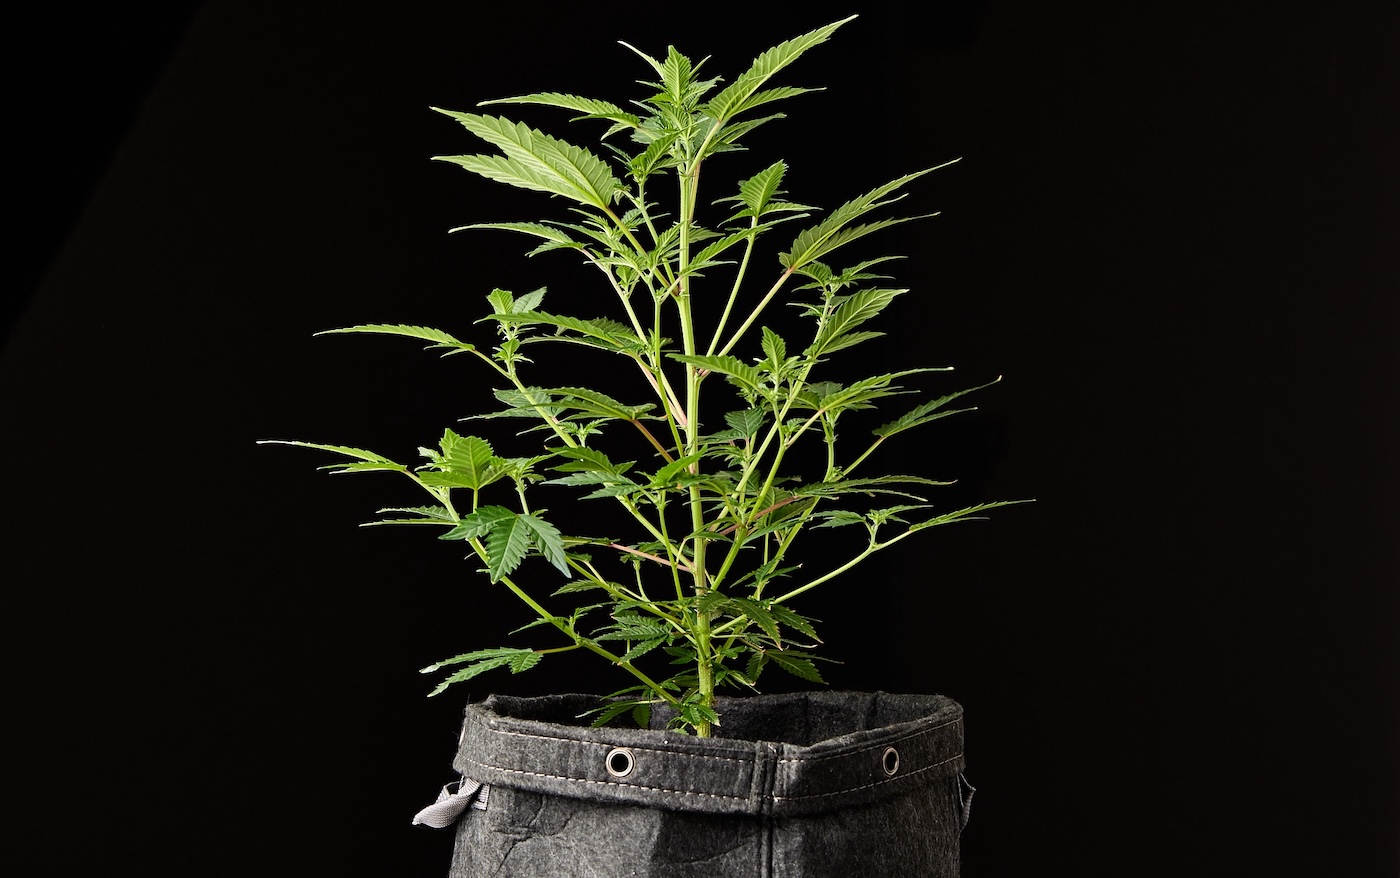
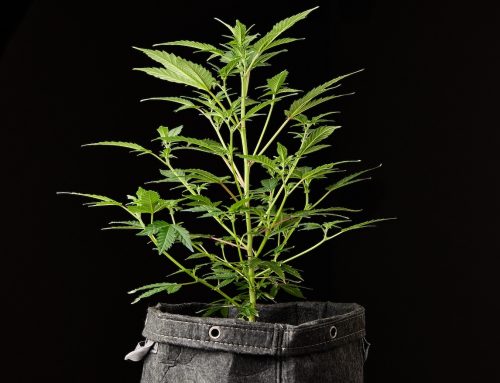
A young cannabis plant taken from a small grow tent for a photo shoot.
What you need – materials checklist
When setting up your in-house cannabis grow room, you can get creative with its size and materials. Just make sure it’s lightproof, airtight, and waterproof. We recommend using a plastic frame due to its versatility, durability, and waterproof nature, unlike wooden structures that are less adaptable and susceptible to water-related issues. So, let’s check out the materials required to construct your own cheap grow tent.
Tools
The basic tools needed for a DIY grow room include:
- PVC pipe cutter
- Hacksaw
- Measuring tape
- Craft knife
Cost: $20-30
PVC Fittings
To secure the frame, you will need the following PVC fittings:
- 8 x Corner-pieces
- 4 x T-pieces
- 1 x Cross-piece
Cost: $10-15
PVC pipes
To construct the frame, you will need the following size PVC pipes:
- 4 x vertical side pipes
- 8 x horizontal pipes for the top frame
- 6 x horizontal support pipes
Cost: $10-20
Tent Fittings
For the tent assembly, the following fittings are necessary:
- Ducting x 52.5 feet
- Hose clamps x 2
- Rachet hangers x 2
- Adjustable straps x 2
Cost: $20-30
Cover
To cover the tent, you will need a reflective plastic sheet and a mylar sheet:
- Mylar x 40 feet
- Reflective polyethylene sheet x 40 feet
Cost: $10-20
Additional Hardware
For the finishing touches, the following items are required:
- Two rolls of duct tape
- PVC ties
- Marker or pencil
- Sandpaper
Cost: $10-20
Now that we’ve got the materials for the frame, what equipment do we need to kit out our tent?
Lights
LED grow lights are cost-effective and produce less heat than traditional lighting. For beginners, many budget-friendly LEDs are available from brands like Spider Farmer and Mars Hydro that are ideal for a weed grow room. There are other types of light, like high-pressure sodium, but LEDs are energy efficient and easy to operate.
Fans
Clip and oscillating fans should be placed around the growing plants to promote proper ventilation and prevent the accumulation of stagnant air pockets and bacteria.
Intake and inline exhaust fan
The intake fan works in conjunction with an inline fan to establish a positive pressure system. This system pushes air through the ducts, ensuring a consistent supply of fresh air for optimal air exchange.
Carbon filter
Carbon filters provide a discreet and efficient solution for eliminating strong odors, making them well-suited for use in apartments or densely populated neighborhoods.
Thermometers and hygrometers
A hygrometer measures the moisture in the air, while a thermometer accurately measures temperature. Maintaining the appropriate levels can help prevent bacteria and nutrient imbalances to ensure healthy plants.
Selecting the ideal grow tent location
Before setting up a grow room, you should consider a few essential things, including the ideal location for your grow tent. So, let’s go through some basics:
- Cannabis plants will require regular attention and should be placed in an easily accessible location for watering.
- Your tent should be positioned near electrical outlets for convenient access to power the interior components.
- Avoid placing the grow tent in direct sunlight or warm areas to prevent an increase in temperature inside the tent.
- Avoid areas susceptible to water leaks or high humidity, such as basements or sheds with known moisture issues.
- Position your grow tent in areas with good airflow or sufficient ventilation. Stagnant air can encourage mold growth.
Step-by-step construction process
Whether you’re a seasoned gardener or just starting with indoor gardening, this guide will walk you through each stage of the process, from setting up the structure to optimizing the environment for healthy growth and development.
1. Pre-preparations
When constructing your DIY grow tent for a space measuring 2 feet x 2 feet x 4 feet, you will need the following PVC pipe sizes.
- For the bottom of the frame; four pieces, each two feet long.
- For the sides of the tent; four pieces, each four feet long.
- For the top of the tent; twelve pieces, each 0.5 meters long.
However, these measurements can be adjusted to meet your specific requirements.
2. Cutting the materials
Take your time with the measurements and cutting to guarantee a well-constructed and functional grow tent. If you’re using a PVC pipe cutter or hacksaw, follow these steps:
- Use a measuring tape and marker to mark the PVC pipe, ensuring you go entirely around it.
- Position and align the blade of the pipe cutter with the mark.
- Squeeze the cutter’s handles to cut through the pipe. Alternatively, if you’re using a hacksaw, clamp it to a stable surface and cut along the mark.
- Smooth the edges with sandpaper.
3. Assembling the frame
Now, it’s time to bring your DIY grow tent frame to life!
- Assemble the four two-foot pipes into the 3-way corner joints to create a square shape. Make sure the joints are securely connected to form a stable base.
- Insert the four four-foot pipes vertically into the 3-way corner joints. This will form the vertical supports for your structure.
- Now, place four 3-way corner joints on the four vertical pipes.
- Connect eight two-foot pipes to the upper corner joints to form a square.
- After that, place a T-joint between the four gaps and add four two-foot pipes from the T-joint, forming a cross.
- Add a 4-way cross connector at the intersection of the four two-foot pipes to provide additional support for the grow lights.
4. Cutting the fabric
To calculate the area of the grow tent that needs covering, measure the length (L), width (W), and height (H) of each section and cut the material accordingly.
- To begin, use measuring tape to mark your Mylar sheet based on the dimensions of the tent sections. You will require four pieces of Mylar measuring 2m x 1m and two pieces measuring 1m x 1m.
- Then, use a marker to make clear, accurate lines for cutting.
Next, carefully cut along the marked lines with a craft knife. Take your time to ensure clean, precise cuts. Repeat the process for the reflective sheeting.
5. Covering your tent
To maximize light reflection, use white reflective material inside and light-proof black Mylar on the outside.
- Start wrapping the reflective white plastic tightly around the three side walls of the frame, leaving the fourth wall open.
- Leave about 4 to 6 inches of material overhanging. This extra material will make it easier to attach the door securely and create a tight seal to prevent light leakage.
- Secure the reflective sheeting to the PVC pipes using duct tape. Smooth out any wrinkles or creases in the mylar to enhance its reflective properties.
- Cover the roof and base with mylar and tape the edges with duct tape. Ensuring the entire inner surface is covered.
- Repeat this process using Mylar to create a second layer, like the reflective white sheet, leaving about 6 inches of excess material for the door.
- Make sure to cover all the sides and seams securely to prevent light leaks.
6. Creating an entrance
We’ve covered and framed the tent, and it looks great! Now, we need to create an entrance.
- First, accurately measure the dimensions of the opening before cutting your mylar sheet to the appropriate length, ensuring it reaches from the roof to the floor.
- Once you have the correct size, attach Velcro strips to the side edges of the sheet and secure it to the top of the frame with duct tape.
- Remember the extra 6 inches of mylar we added to both sides of the grow tent? You can now attach Velcro strips along the edges corresponding to the Velcro strips on the door. This will create an access point for easy entry and exit.
- Ensure the Velcro is securely attached to prevent it from coming loose.
7. Ventilation holes
Create intake and inline fan holes at the bottom and top of your tent for proper air circulation.
- To start, you’ll need to mark the locations for the fan holes. You can use duct tape on each side of your grow tent to outline where the fans will be placed.
- Use a craft knife to carefully create a small hole following the outline you’ve made with the duct tape. Take your time to avoid damaging the tent material.
- Once the initial hole is made, you can expand it to the desired size for the intake and inline fan holes.
Installing your grow equipment
Now that the grow tent’s frame is complete, it’s time to set up essential features such as lights, ventilation, and thermometers. We’ll walk you through the process so you can start growing your own high-grade cannabis in no time!
Power outlet
Hang the power strip from the upper support beams using plastic ties to keep wires away from the plants and off the floor.
Lights
Attach the LED lights to the upper support bars of your tent using ratchet-style hangers. This allows you to easily raise or lower the light as needed during different stages of development.
Fans
If you’re using clip-on fans, you can attach them to the tent poles. For wall-mounted fans, use brackets to secure them to support bars for stability.
Intake and inline fans
Position the intake fan near the bottom of the tent and secure it to the vent hole. Mount the inline fan near an upper vent hole and connect it to the ducting leading to the exhaust vent.
Carbon filter
To secure the carbon filter, use ratchet hangers or adjustable straps to fasten it to the tent’s upper support bars, but do not allow it to touch the roof.
Thermometers and hygrometers
Use mounting brackets or adhesive strips to secure the thermometers and hygrometers to the tent frame. To get accurate readings, place the devices away from direct airflow.
Maintaining and upgrading DIY grow tent setup
After setting up your DIY grow tent, it’s crucial to maintain it. Keeping equipment clean prevents harmful bacteria and pests. An expert tip is to clean with a 3% hydrogen peroxide and water solution. If you want to upgrade your setup, here are six key points to consider.
1. Improve ventilation
Upgrade the ventilation system in your growing space by installing higher-quality inline fans or adding additional ducting for better airflow control.
2. Replace the carbon filter
Once your carbon filter has reached its absorptive capacity, typically within 24 months, you should replace it to ensure effective odor control and air purification.
3. Upgrade lighting
Replace older or less efficient grow lights with newer, more energy-efficient models that enhance light intensity and spectrum coverage.
4. Automation
Consider using a built-in timer to regulate the lighting schedule. This will reduce the need for manual adjustments and ensure that your plants receive consistent growing conditions.
5. Increase in size
If you have enough space, consider expanding your grow tent to accommodate more plants. This will increase your potential yield and allow you to learn more about different plant varieties.
6. Advanced Monitoring
Invest in advanced monitoring equipment, such as pH meters and environmental sensors, to track environmental conditions directly affecting nutrient availability and plant growth.
Troubleshooting common DIY grow tent issues
If you have finished building your DIY grow tent and are encountering some challenges, we have compiled a list of five common issues you may face.
Poor ventilation
Inadequate ventilation can lead to excess moisture and fungal issues in the tent. Ensure proper coverage with your ventilation system, and consider adding an extra fan if necessary.
Light exposure
If your plants flower early, inspect the tent for areas where light is leaking through and patch those areas immediately.
Incorrect Sizing
A tent that is too large can inefficiently use space, causing plants to grow tall and skinny. On the other hand, a tent that is too small can result in overcrowding.
Temperature fluctuations
Plants exposed to fluctuating temperatures can become stressed and experience stunted growth. This can occur due to improper ventilation or the incorrect placement of the tent.
We wish you the best of luck with your DIY tent and a bountiful, happy growing season!

